
How to Calibrate Your Printer for Accurate Cheque Printing
Learn how to adjust horizontal (X) and vertical (Y) millimeter offsets to align text perfectly on any physical bank cheque leaf.

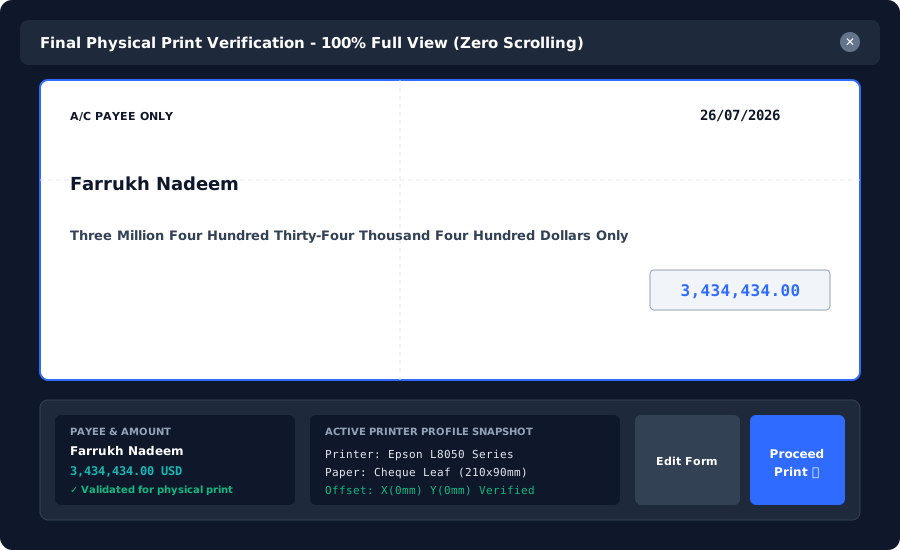
Why Printer Calibration Matters for Cheque Printing
Physical cheque books vary across banks. Pre-printed date boxes, payee lines, and amount boxes require millimeter-precise alignment to prevent rejection during bank clearance. Even a 2mm shift can cause text to cross into magnetic MICR bands or overlap pre-printed boundary lines.
Step 1: Measure Your Physical Cheque Leaf
Use a standard millimeter ruler to measure the exact width and height of your cheque paper. Common dimensions include 210mm x 90mm, 205mm x 98mm, or 8 x 3.5 inches.
Step 2: Enter Layout Dimensions in ChequePilot
In ChequePilot Template Designer, configure the physical width and height to match your physical leaf. Position your Date, Payee, Amount in Figures, and Amount in Words boxes directly over the scanned layout.
Step 3: Perform a Test Print on Plain Paper
Print a sample cheque onto standard white A4 paper. Hold the printed sheet against your physical cheque over a light source to verify alignment.
Step 4: Fine-Tune X and Y Offsets
If the text sits slightly to the left, increase the X-offset by +1mm or +2mm. If text sits too high, increase the Y-offset. Save your calibration profile, and every future cheque will print in perfect alignment.
ChequePilot Editorial Team
Product specialists and financial operations researchers at DesignMUSTER Technologies.
Ready to print professional cheques in seconds?
Experience flawless bank alignment, multi-currency formatting, and complete cheque batch management.
Related Articles
View all articlesManaging Multi-Bank Profiles for Corporate Accounts Departments
How finance teams can organize multiple corporate accounts across regional banks, currencies, and custom cheque layouts.
5 Common Cheque Preparation Mistakes and How to Prevent Them
Discover the top reasons corporate cheques bounce or get rejected, and how automated templates and number-to-words spelling eliminate handwriting errors.